Welcome to another entry in our advanced products series. If you’re new here and want to get caught up, check out our Advanced Products Overview. This time we’ll see how to create our first variant-based product. Once again, we’ll be working in the Broadleaf admin console and checking our progress on our sample storefront. If you haven’t already, we recommend starting with the Creating a Standard Product post, as it serves as an introduction to some of the relevant functionality in the admin.
If you want to follow along, you can sign up for a free demo environment. Simply fill out the form and check your email with instructions on accessing your environment.
Let’s get started
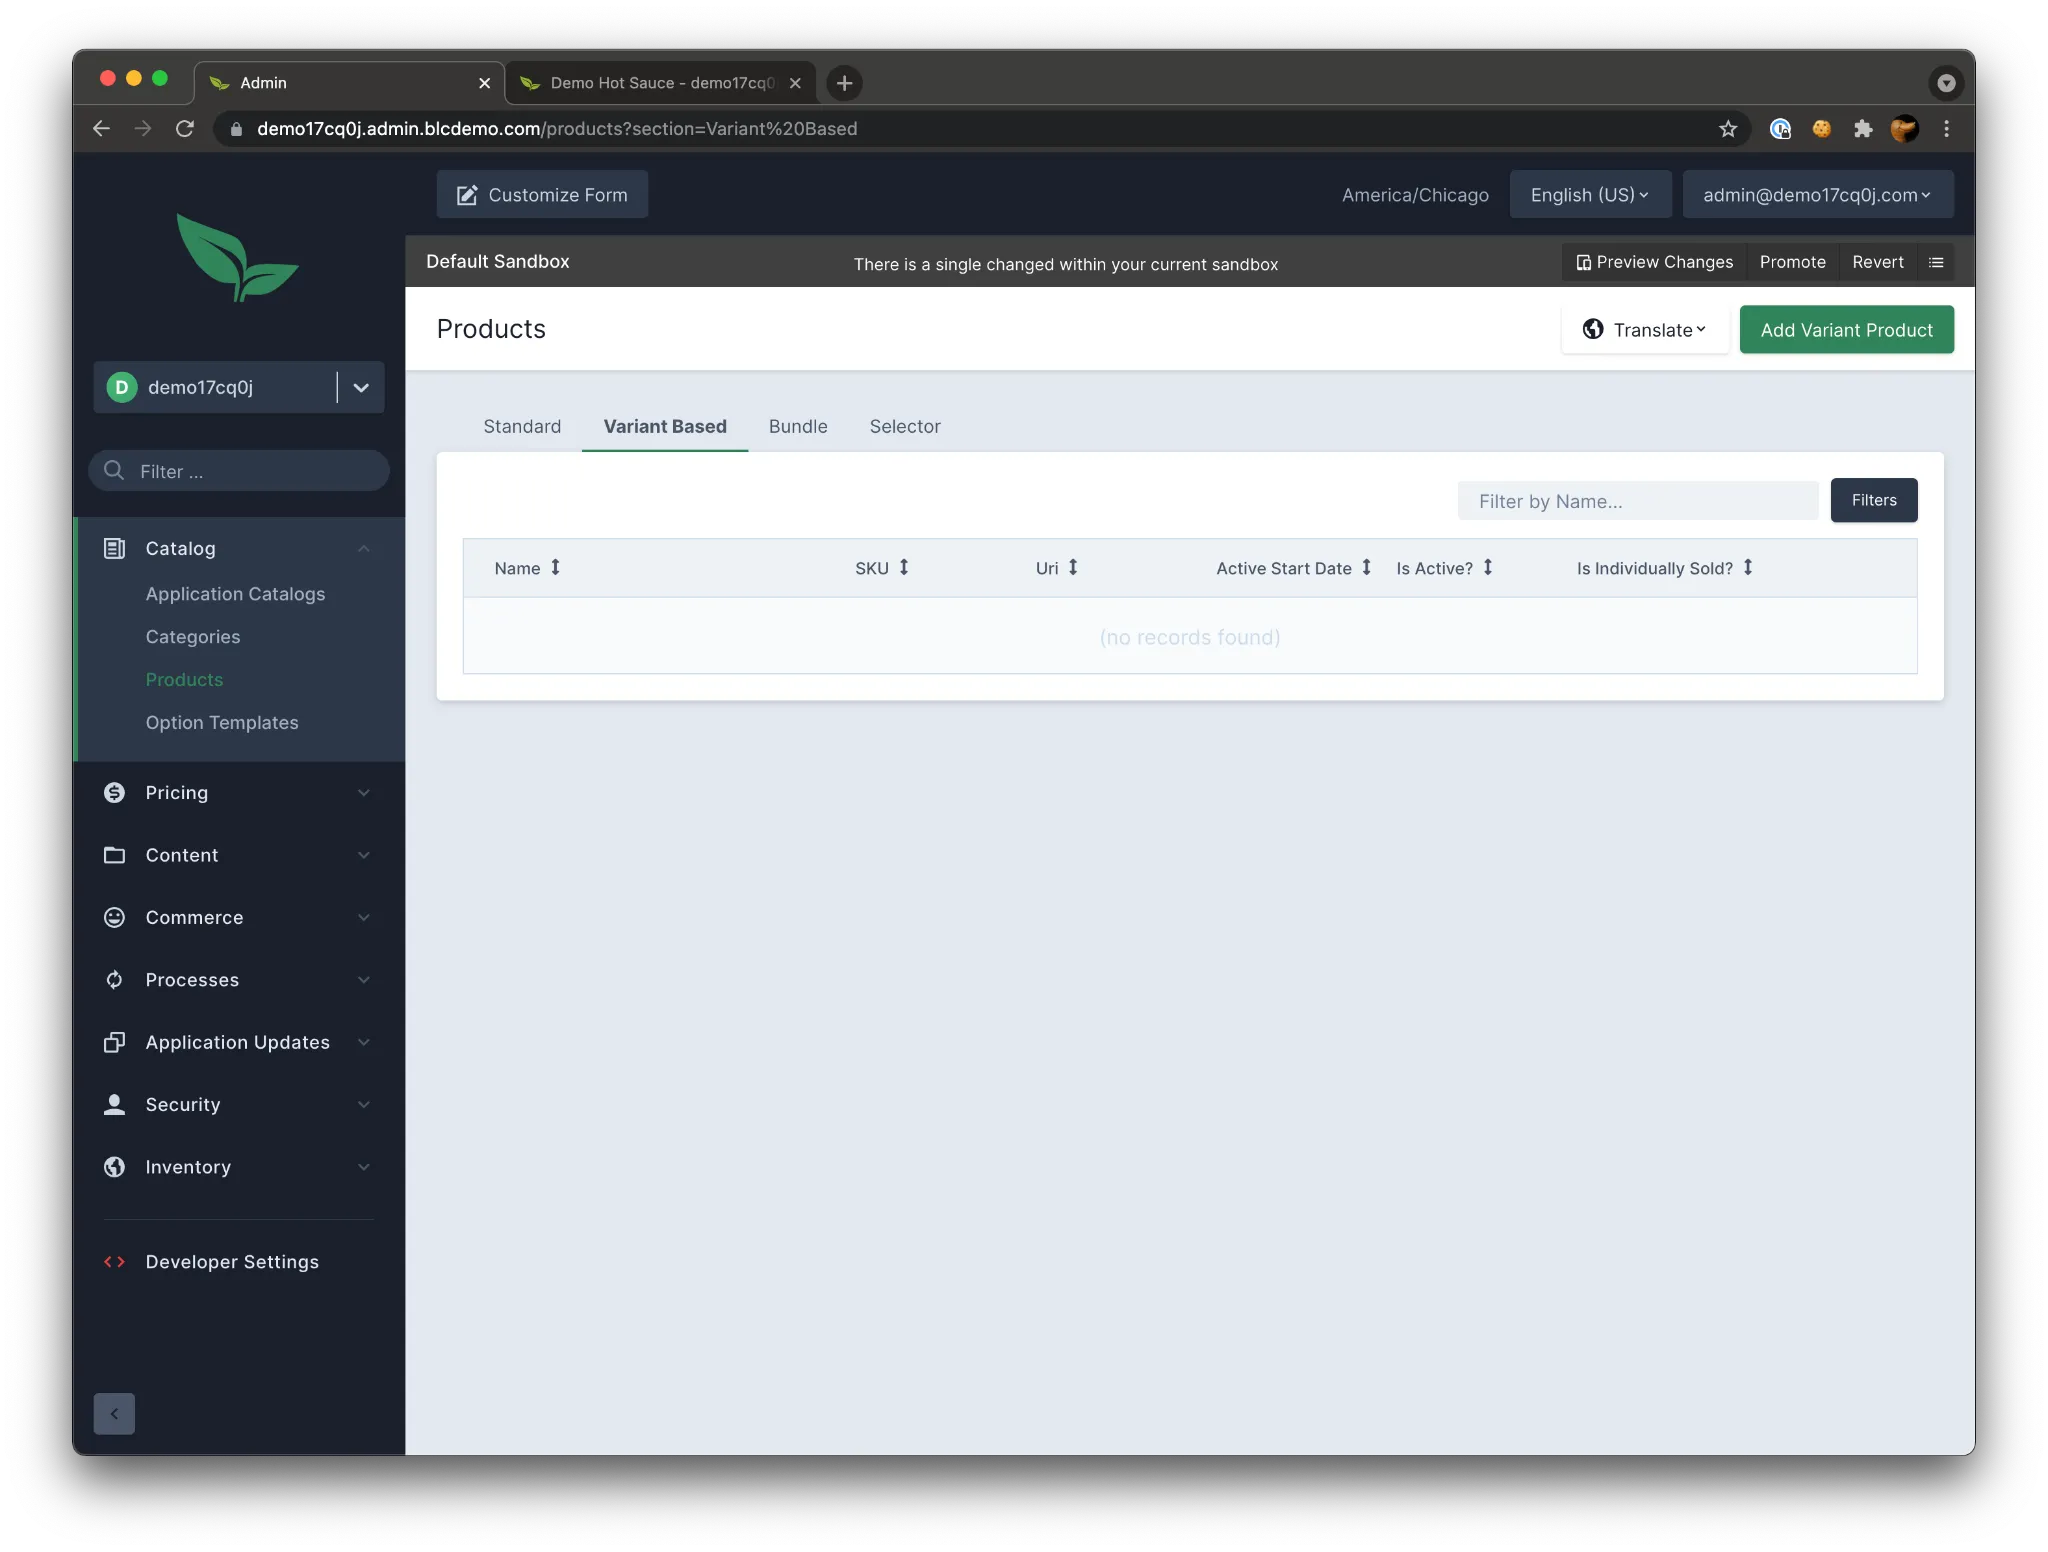
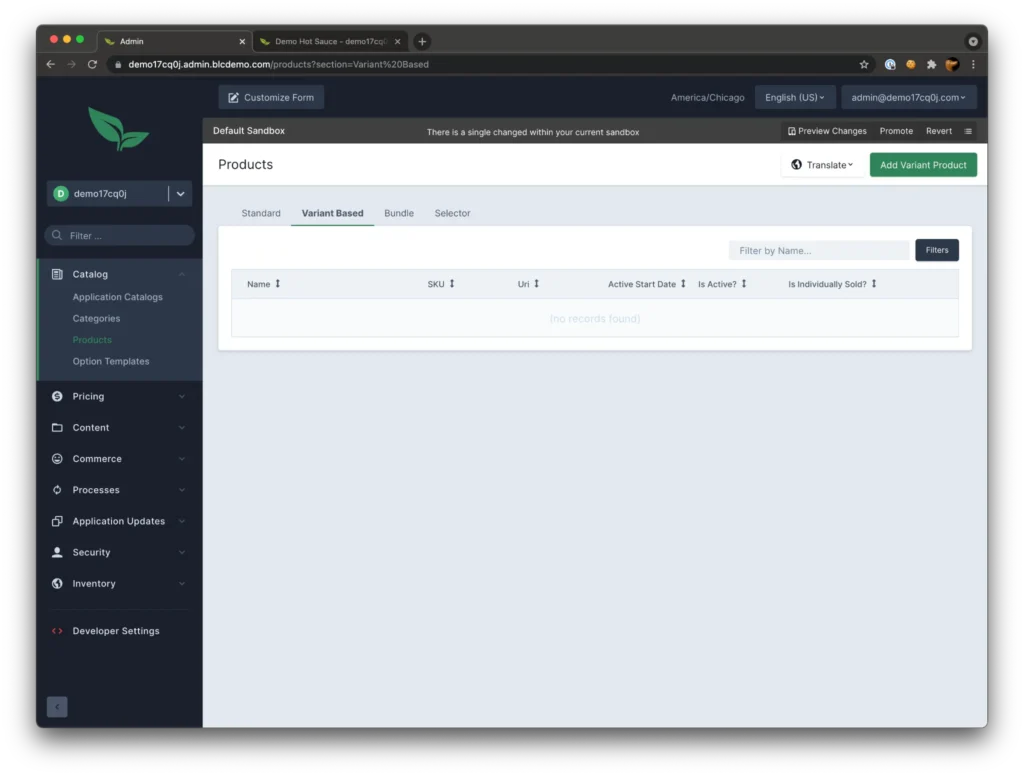
In this post, we’re going to walk through creating a simple t-shirt product with several color and size options. We’ll start by logging into the Broadleaf admin console and navigating to the products screen. This time we’ll make sure to select the “Variant Based” and choose “Add Variant Product.”
Once again, we’re taken to the product creation screen. It should look similar to what we saw previously. Let’s fill in our required information and click the “Create Product” button. I’m going with the following:
Name: “Demo T-Shirt”
SKU: “DEMO-TS”
Default Price: “19.99”
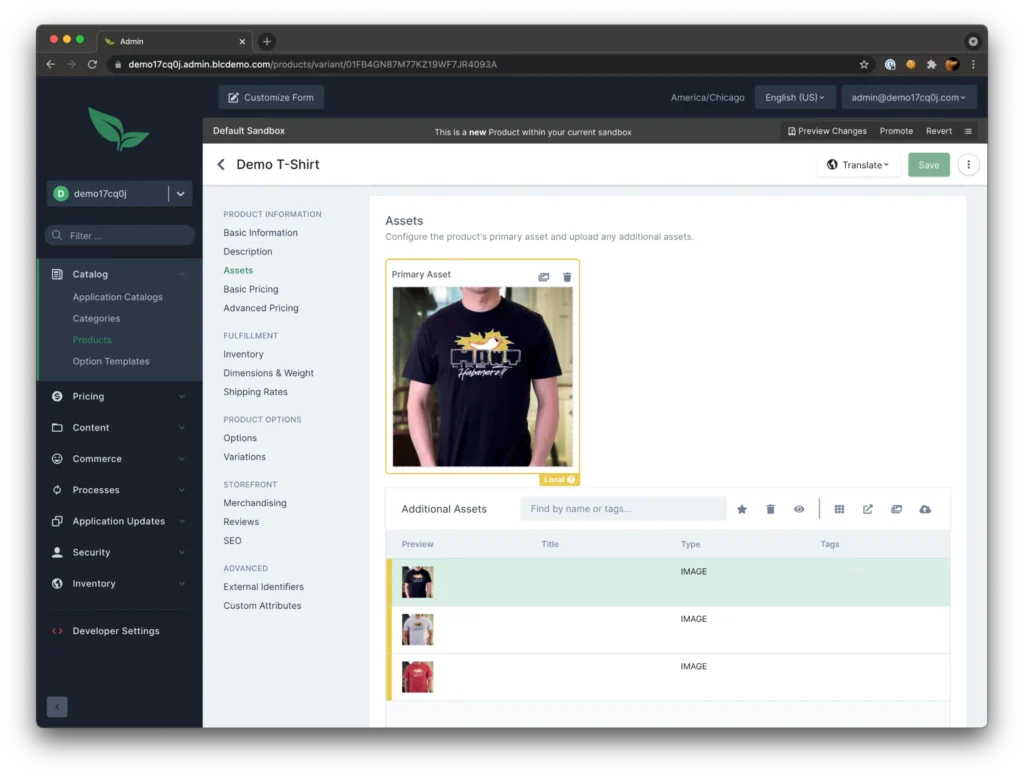
Once the page refreshes you should see some new sections that weren’t available last time. Before we explore, let’s add some images to our product so we can see it on the storefront. Feel free to find a couple of pictures of t-shirts, preferably a couple of different colors.
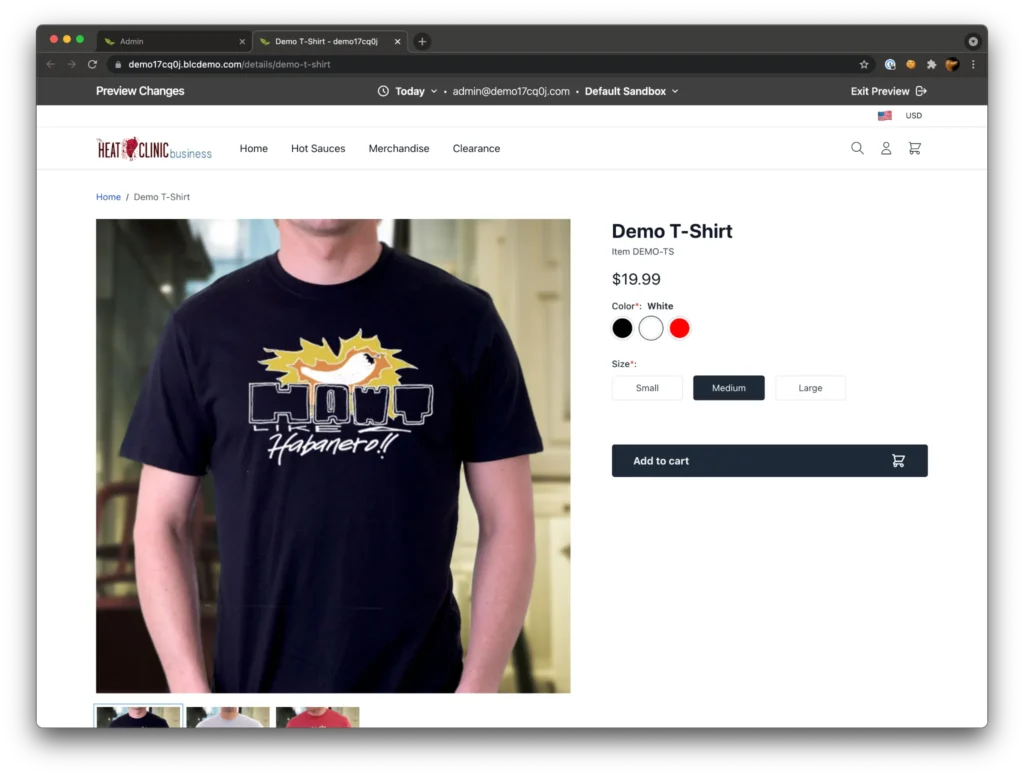
At this point, if we were to preview our changes, we should see a product detail page with the information we’ve provided so far.
While this is a perfectly acceptable product, it’s not really what we’re going for. We want the customer to be able to purchase a t-shirt in a specific size and color. Let’s head back to the admin and see how this is accomplished.
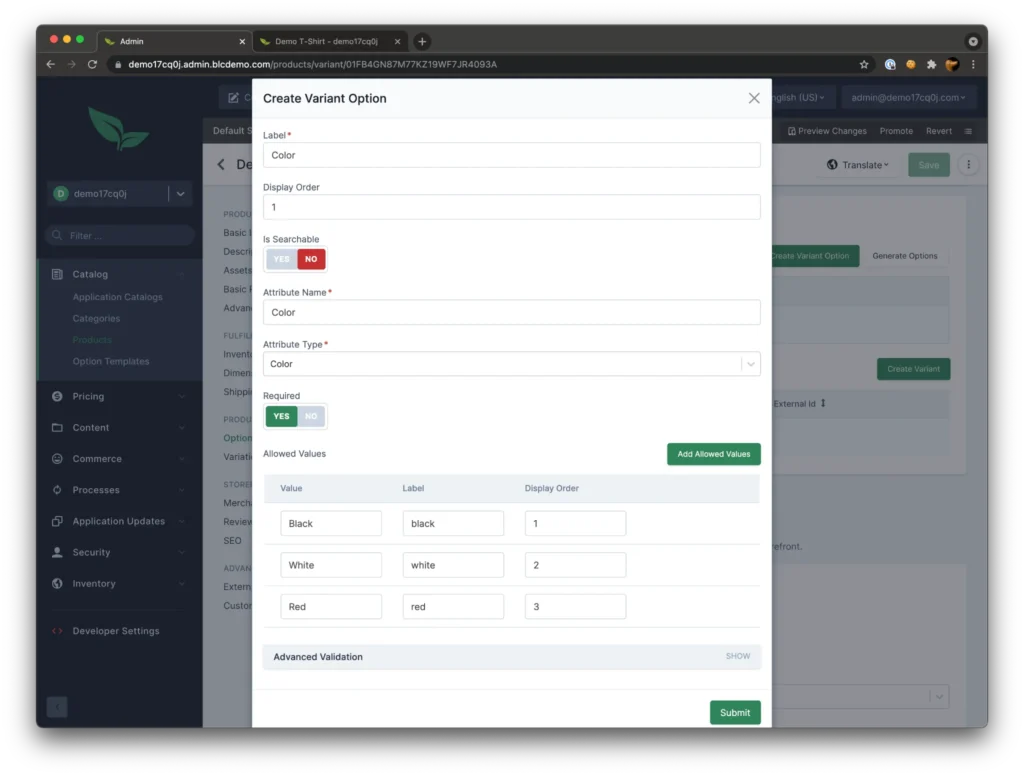
Back in the admin, find the “Variations” section of the product screen. This is where we can define any variant options for our t-shirt. We’re going to add two variant options: one for color and another for size. Here’s how I defined my “color” option:
A couple of notes about this form:
Label is used by the storefront as a label for our option
Attribute Name is typically set to the same value as the label unless an integration is looking for a specific value
Attribute Type is also used by the frontend as a hint to what type of field to show
Required tells the framework to not accept a variant that doesn’t have a value set for this option
Allowed Values are the different color options in this example that my shirt comes in
I’ve set very similar options for my size option except my allowed values are (Small, Medium, and Large). Finish adding any options that you want and make sure to click “Save” on the product form.
At this point, if you were to preview your changes you should see the two labels with no options and the add to cart button should be disabled. But why? We added our allowed values, shouldn’t they show? The reason is because we haven’t actually added any variations to our product. We’ve simply informed the system that we allow variants with the options provided.
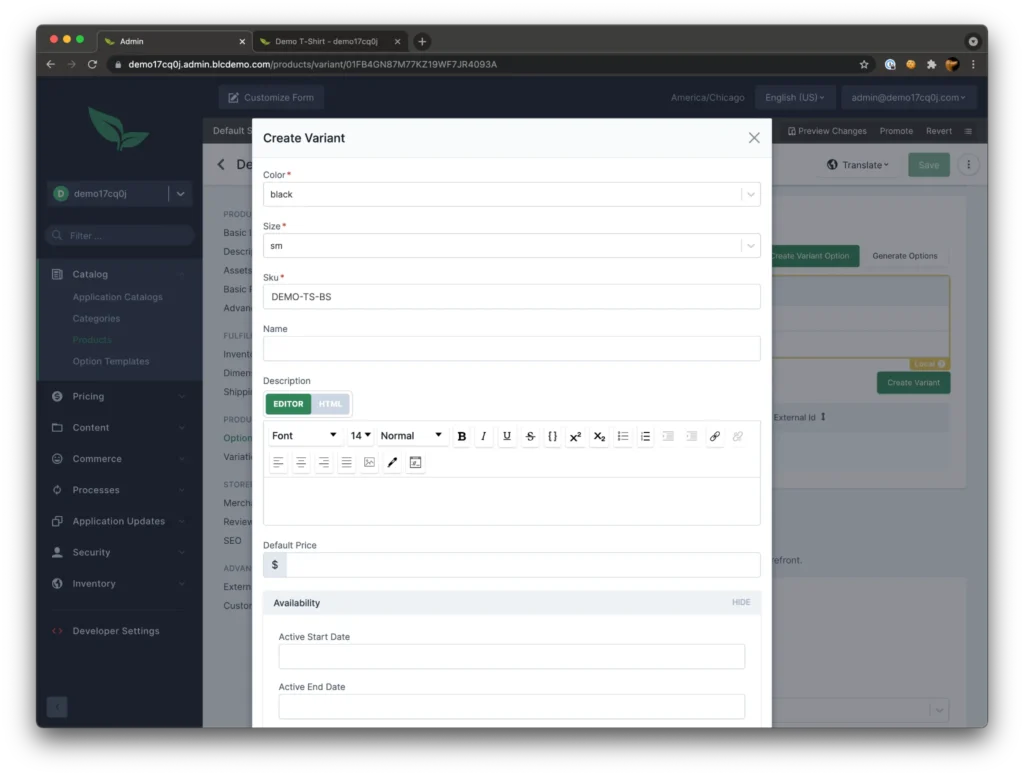
Let’s go ahead and add a couple variations. Click the “Add Variant” button and check out the form. The only required fields here are our Color, Size, and a SKU. There are a lot of additional fields, most of which allow us to override values that are set on the product, but for this we can ignore them.
Go ahead and add the rest of your variants, I’ll wait here. This might seem tedious but typically this information is imported from an external system, so this isn’t a process that has to happen very often. Here you can see all the variants I created:
When you’re ready, go ahead and preview your changes. The product detail page should be closer to what we want.
At this point, you should be able to select different color and size combinations and successfully add them to your cart. There is one last thing that would make this a better user experience for our customers. Ideally, when I pick a color option, I’d like the image to change to show a matching image.
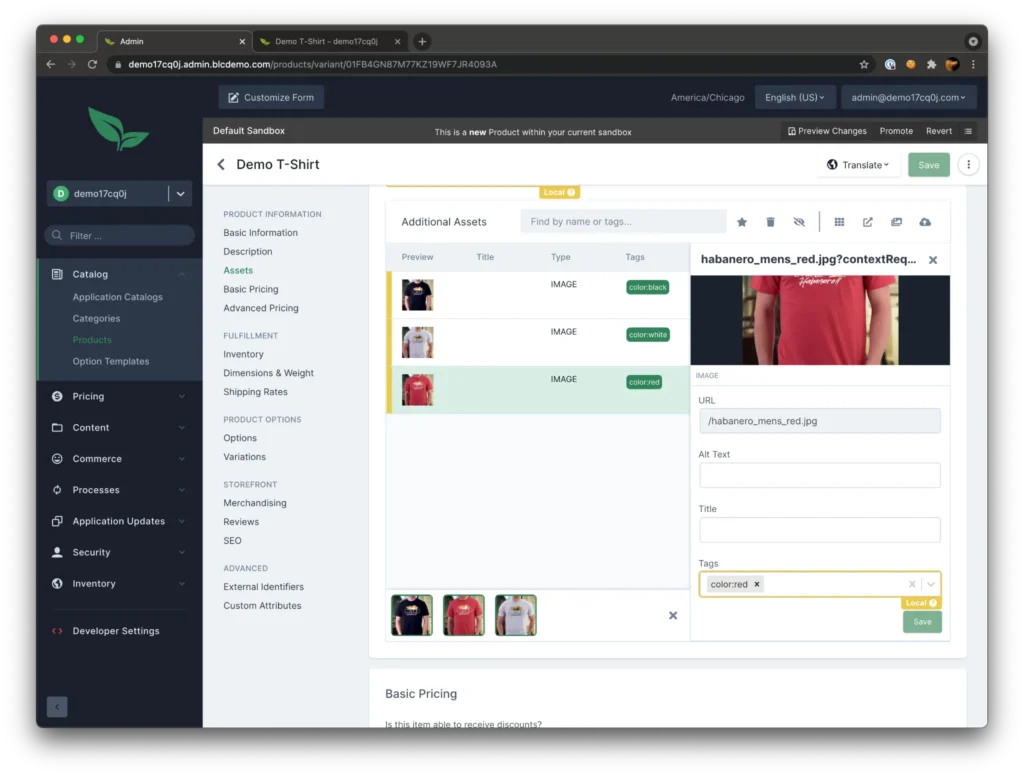
This next part is highly dependent on how your storefront is configured but let’s see how we can accomplish what we want. Our demo storefront is currently set up to look at any tags you have on your assets and match them to the currently selected option. The format we’ve chosen is to create a tag for each asset like the following “option:value.” So if we want the red shirt image to show up when we select the red option, we should add a tag of “color:red” to the red shirt asset. Here’s how my assets look:
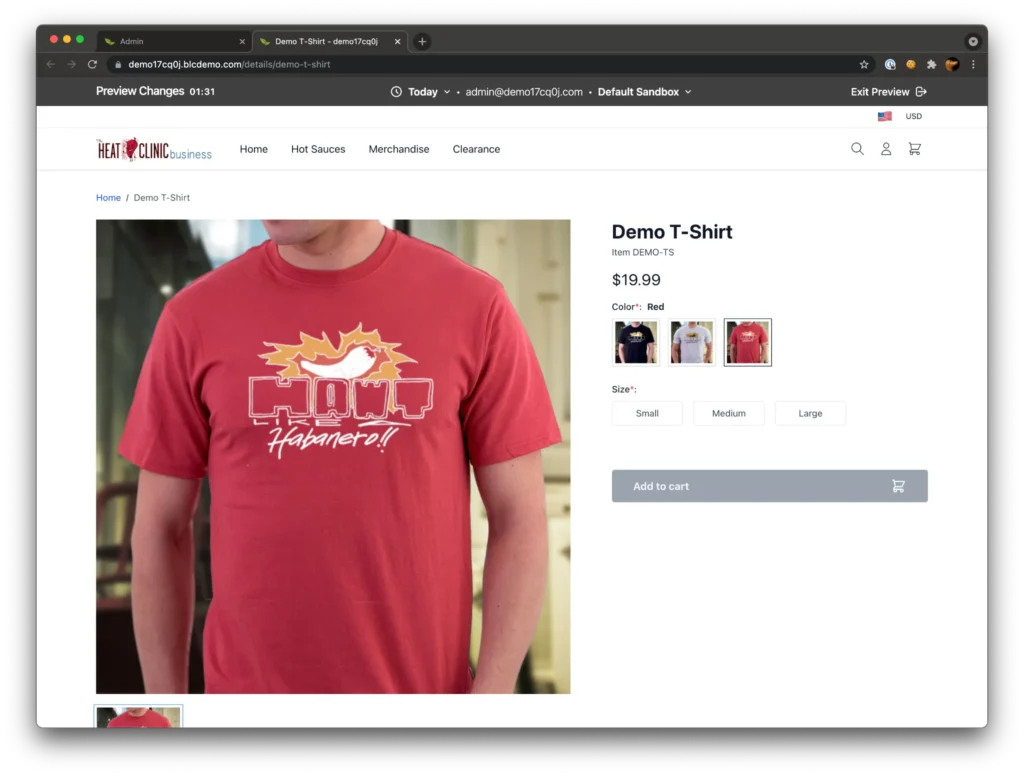
With that in place we can head back to the storefront and see it in action. An added benefit is that our demo is set up to show the image instead of the color swatch as well as swap out the main image.
And, we’re done! We’ve successfully created a new variant-based product from scratch and hooked up our various assets to sync with the customer’s currently selected option.
Where to go from here
Now that you’ve seen how to create a variant-based product, take some time to explore some of the other options available to you. You might also want to check out our post on setting up sale pricing and seeing if you can successfully apply it to your new product.