This marks another entry in our advanced products series. If you’re new here and want to get caught up, check out our Advanced Products Overview. We’re going to be building upon the work we did in Creating a Standard Product, so if you haven’t done so, we suggest starting there.
In this post, we’re going to detour a bit from talking about the different types of products and examine how to configure and manage the different pricing options within Broadleaf. Specifically in this post, we’ll take a look at creating a sale for the product we created last time. Don’t worry, in a future post, we’ll dig into promotions.
What’s the difference?
This question may have crossed your mind when reading the section above. The terms sale and promotion are often used to mean the same thing: sell an item for cheaper. In Broadleaf we use the terms to describe two different customer interactions with pricing.
A sale impacts the price of an item during the customer’s browsing experience. Whereas a promotion is used to discount an item after it’s been added to the customer’s cart. Moreover, a promotion adds rules for when it should be applied based on the other items in the cart or the overall cart state.
Let’s get started
In Creating a Standard Product, we saw how to add a default price to our product. Now, let’s go back into the admin and add a sale price. We’ll navigate back to our product and take a look at the “basic pricing” section.
The simplest, and most limited, way to create a sale for our product is to populate a Sale Price. Let’s go ahead and do that. I’m going to set the sale price to $8.99.
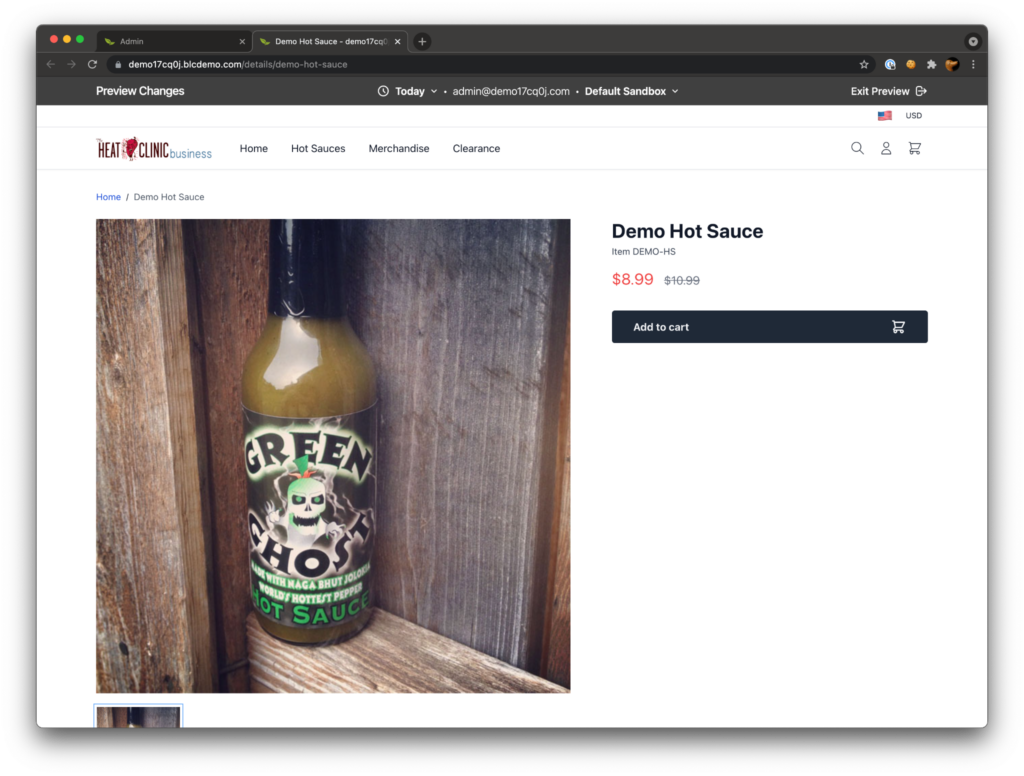
If you’re following along, click save and then the “Preview Changes” button. You should see something like this:
Our product is on sale! This definitely works and is a great way to quickly add a sale price to a product but many times as a merchandiser you want a sale to last for a limited time or only be active for a set group of customers. To handle these use-cases we look to Price Lists.
Price lists come in a couple of different flavors: Standard, Sale, and Contract.
Standard price lists are used to set a product’s default or base price.
Sale price lists can be used to configure a product’s sale pricing.
Contract price lists are useful in B2B scenarios where you have different accounts or contracts that receive different prices.
Regardless of which price list you use, they are all configured with similar options. You can limit price lists to certain contexts or users, and you can apply different price modifiers that get applied dynamically to products based on custom rules—this is useful if you want to target a category of products with a sale rather than specifying each product individually. Like most entities in the system, you can set active date ranges, specifying when the pricing is available.
Let’s make a sale … again!
Before we do anything else, let’s undo the sale price of our product. You can either blank out the sale price field and save or click the “Revert” button that is next to “Preview Changes.”
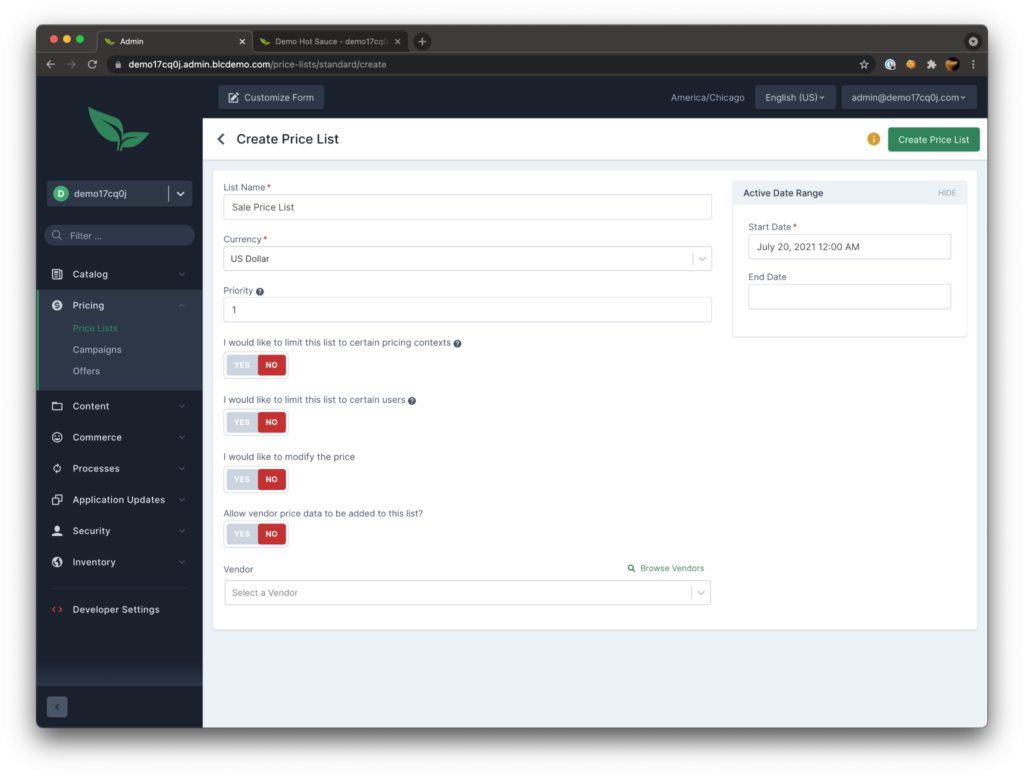
Now that we don’t have a sale price anymore, let’s head over to the “Price List” section under the “Pricing” group and create a new price list. In this case, because we want to create a sale, make sure the “Sale Price List” tab is selected. We’ll give it a name and click the “Create Price List” button.
I recommend exploring the different options here to see what’s available, you can limit it to specific users and pricing contexts. You can even set a price modifier for all products. For this example, however, we don’t need to do anything more here.
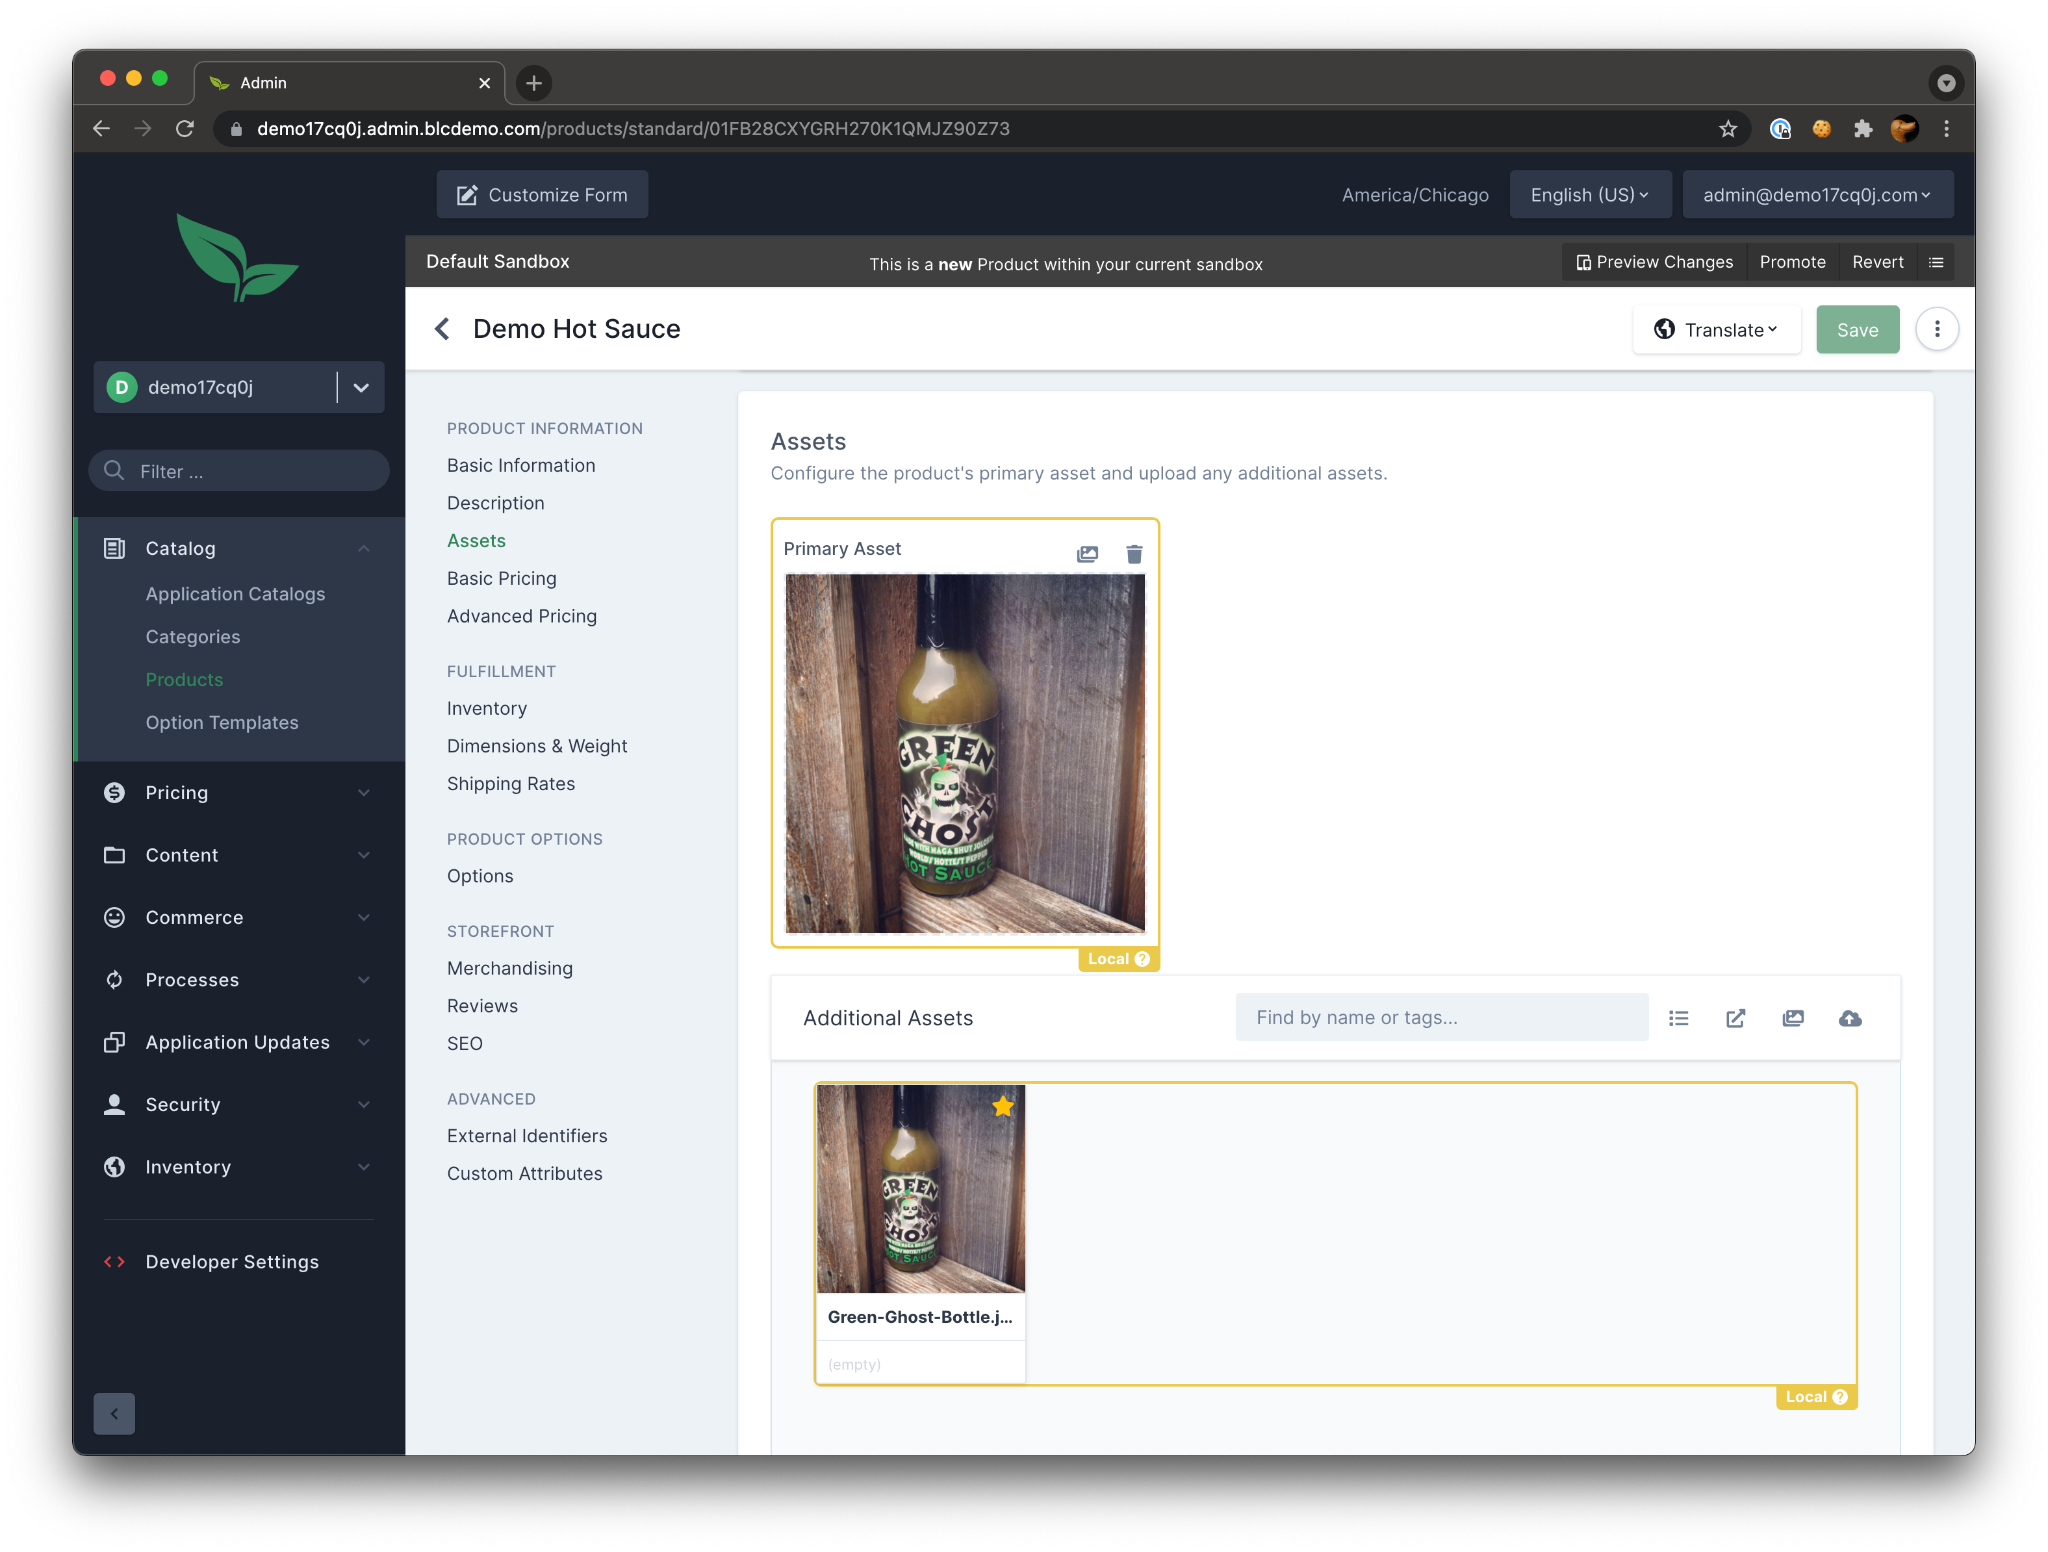
Let’s head back to our product and check out the “advanced pricing section.” You should see a button to “Create Price Data.” Here is where we can add pricing to our new price list.
In the screenshot above, I’ve selected our newly created price list, the SKU for our product (it should be the only option), and added back our sale price. Now we just have to save the form and preview our changes one more time.
We did it! Our product is on sale again but with the added benefit of being able to tie multiple products to a single sale price list and have the ability to turn it on and off.
Where to go from here
Now that we know how to manage pricing for our products, we’re ready to continue looking at more product types. In the next post, we’ll create our first variant-based product.