Welcome back to our advanced products series. If you’re new here and want to get caught up, check out our Advanced Products Overview. In this entry, we’ll explore the Selector product type and how you can create them. Once again, we’ll be working in the Broadleaf admin console and checking our progress with our sample storefront. We recommend starting with the Creating a Standard Product post, as it serves as an introduction to some of the relevant functionality in the admin.
If you want to follow along, you can sign up for a free demo environment. Simply fill out the form and check your email with instructions on accessing your environment.
Let’s get started
Selectors are different from the other various product types in that we won’t be creating an actual sellable product. Instead, we will create a merchandising product that allows the customer to choose between several options. For demonstration purposes, let’s create a new selector product that gives the customer a choice between several of our favorite hot sauces.
Just like last time, we’ll start by logging into the Broadleaf admin console and navigating to the products screen. Switch over to the “Selector” tab and choose “Add Selector Product.”
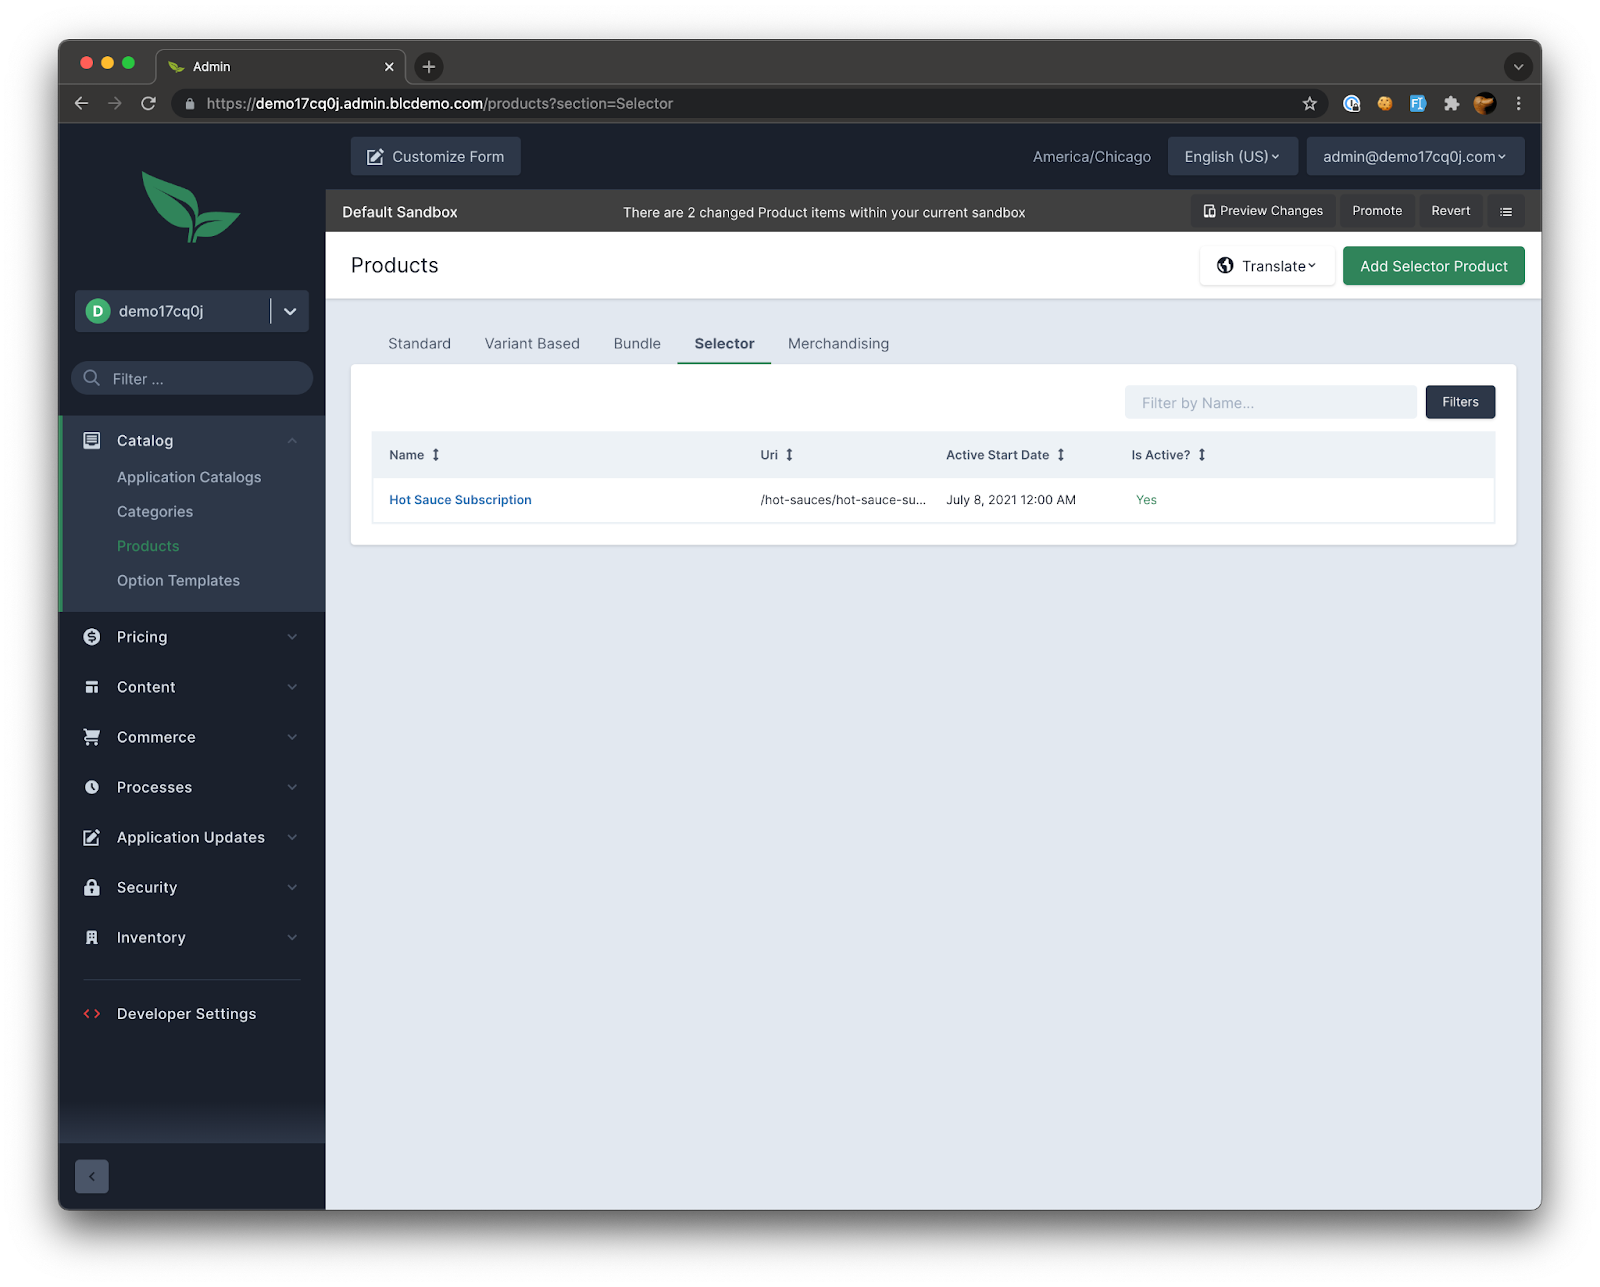
From here, we’re taken to the product creation screen. You’ll notice our available properties are much more limited than we’ve seen previously. You can think of a selector product as a kind of wrapper product around our choices. The main pieces of information we need are a name and URI:
- Name: “Demo Selector”
- URI: “/demo-selector”
We’ll fill them in and click the “Create Product” button. Once the page loads, we’ll see a few more properties to decorate our product like description and assets. We’ll go ahead and fill in a description and add a random asset as our primary.
Now, similar to how we added products to our bundle in the previous post, we’ll scroll down to the “Product Options” section. This time, however, instead of adding included products, we’ll be configuring a couple of “Product Choices.”
Find the “Add Ons” group and click the “Add Product Choice” button at the top of the grid. You should see something like the following:
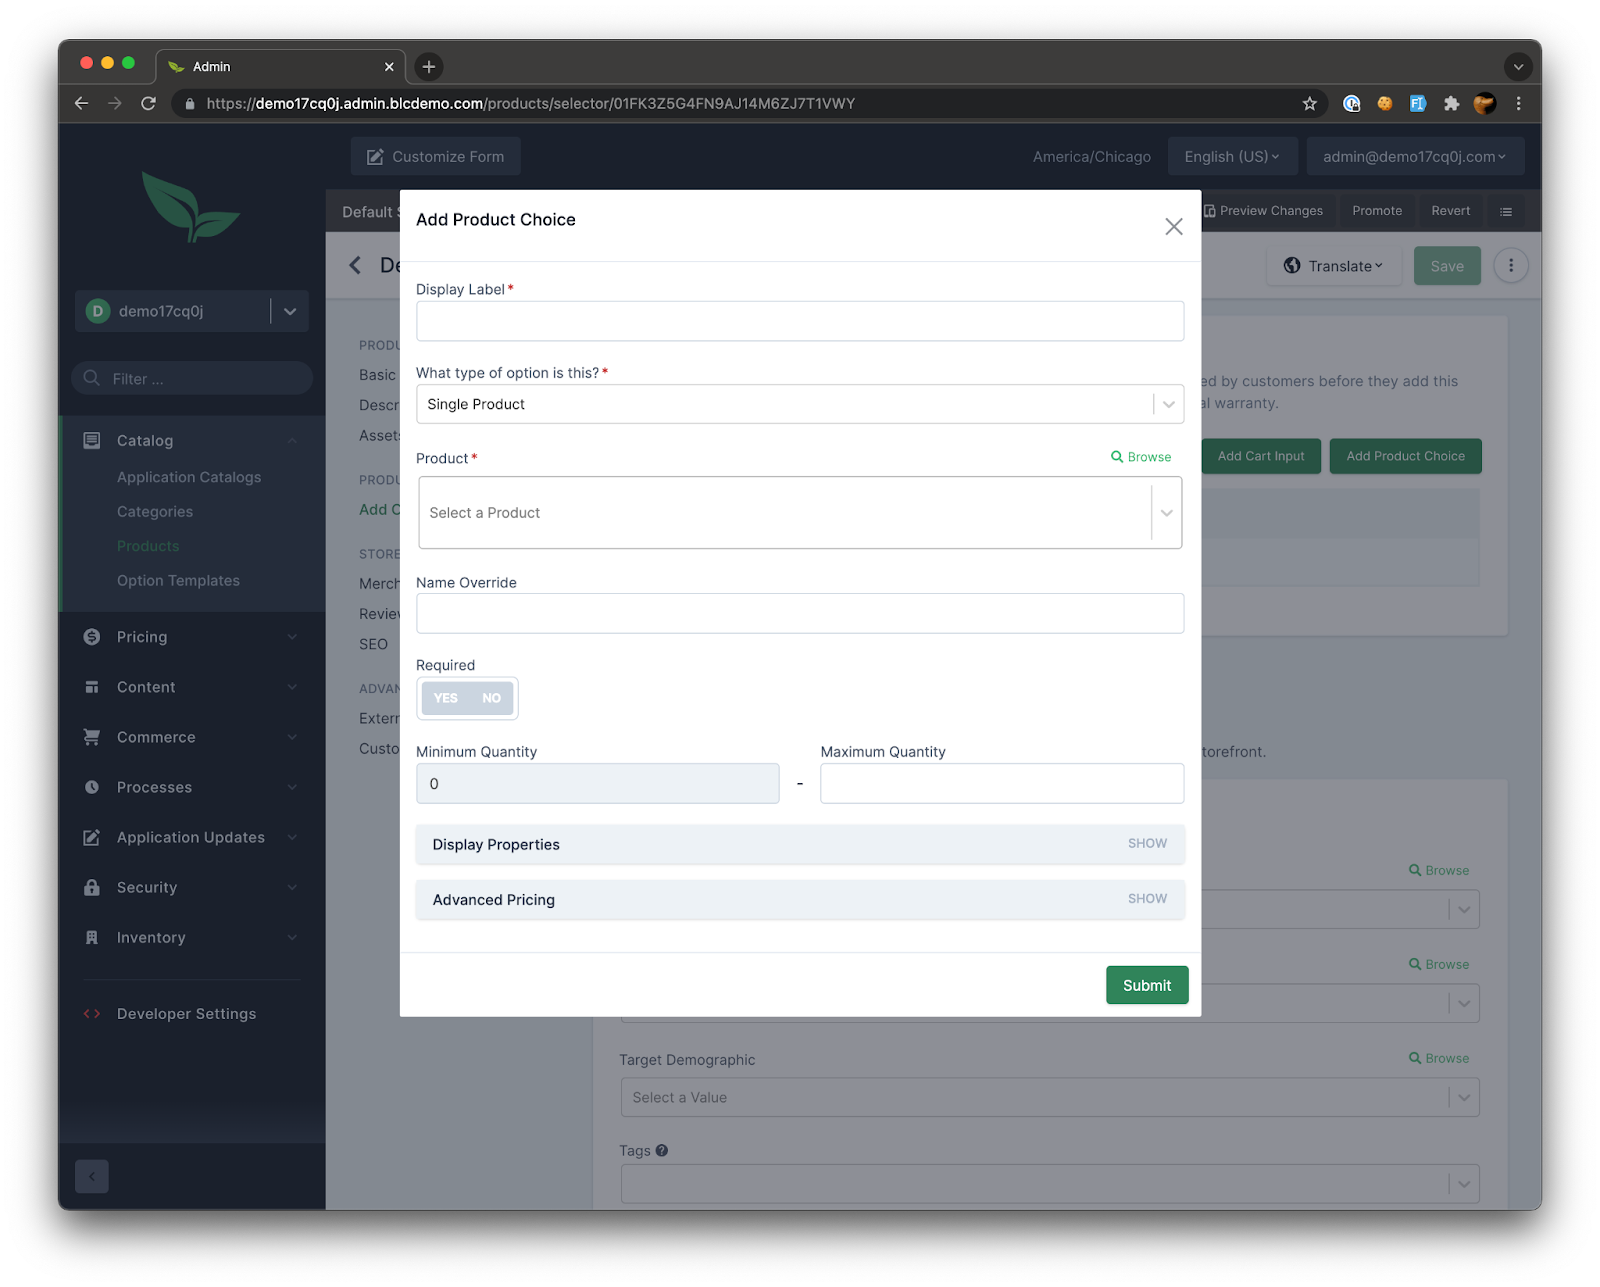
This is where we’ll choose which products we want to add to our selector. Several options presented on this popup give you a great deal of flexibility when configuring your choices. Feel free to explore the different options, but in this example we’ll keep it relatively simple. In the “What type of option is this?” field, we’ll choose the “Multiple Products” option.
You should see a new grid show up, allowing us to add out choices. Click the “Create Choice” button and pick a product from the dropdown. There are several more options on this popup that give you more flexibility when creating your options. Again, we’re going to keep it simple and leave all the defaults. Repeat the process a few more times, so we have a couple of choices for our customers.
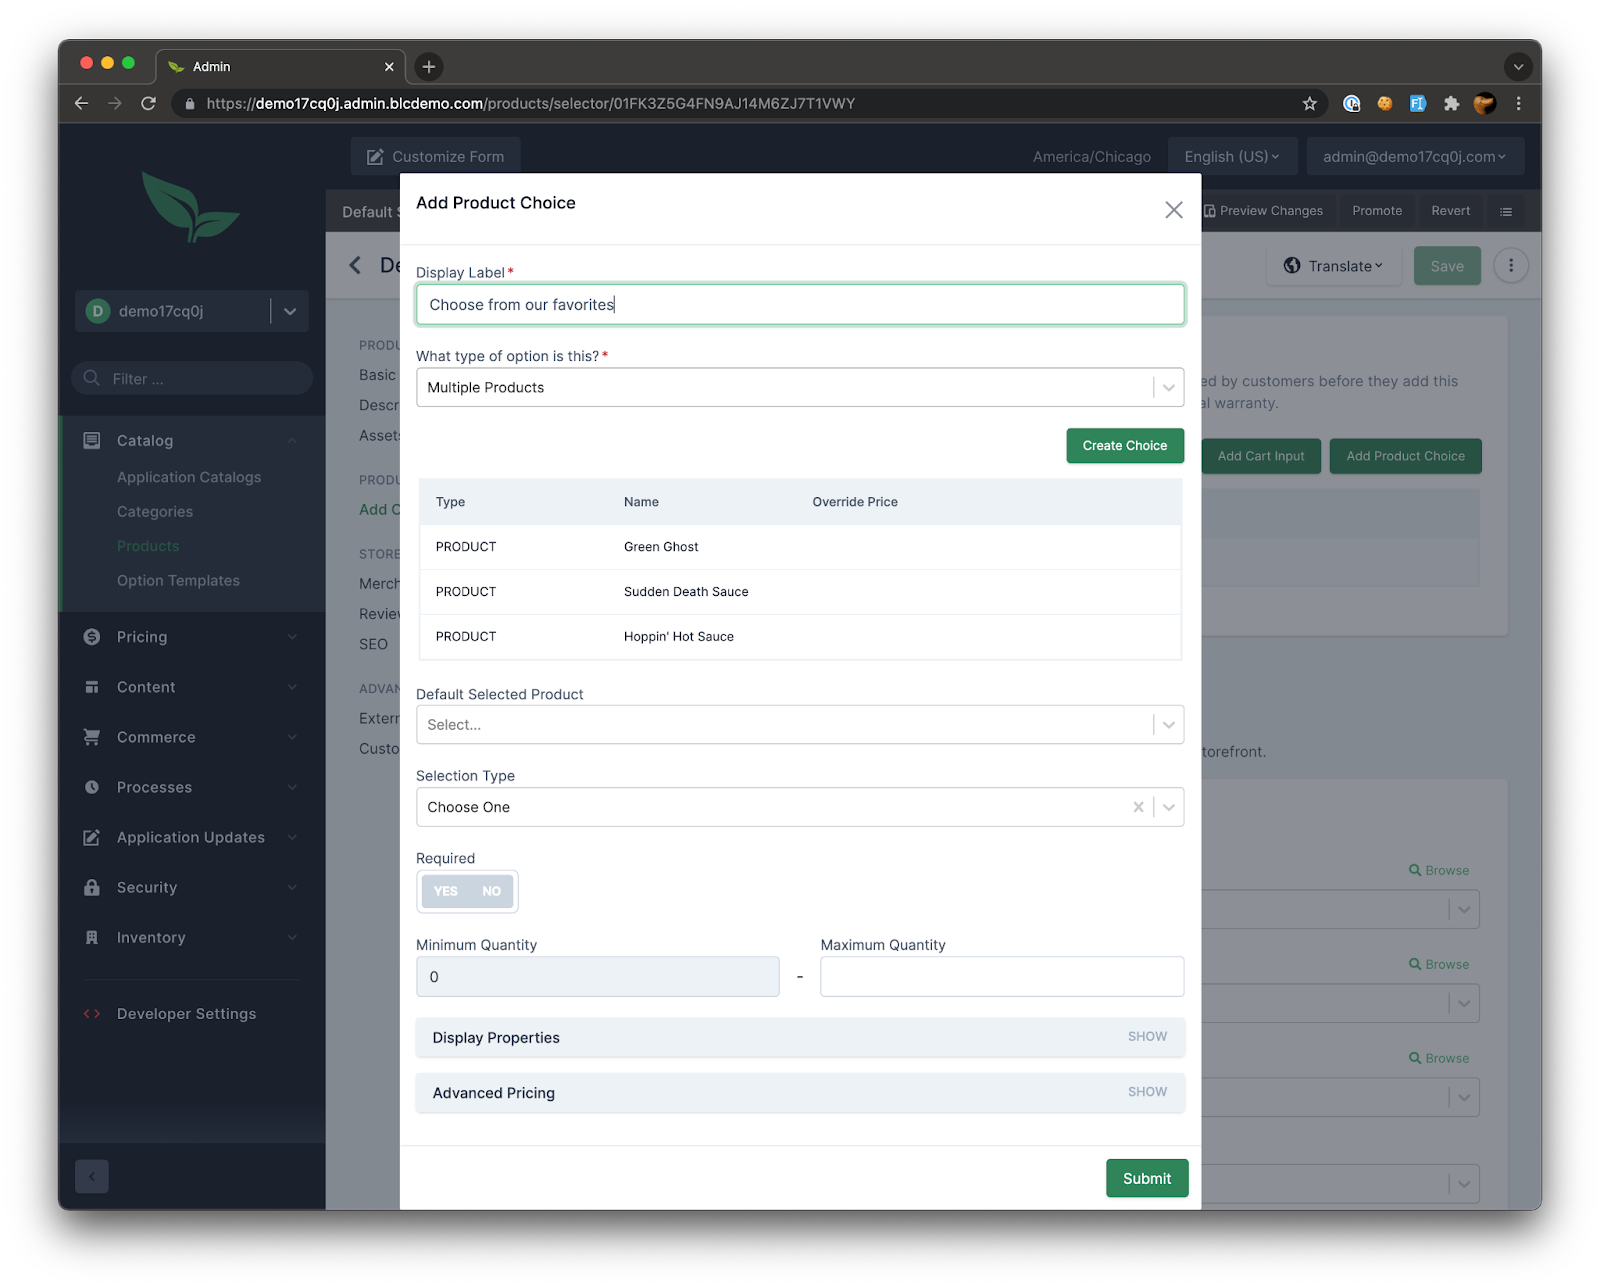
Don’t forget to give your product choice a “Display Label” and click submit and save your selector product.
At this point, we’ve successfully created our new product, and if we preview our changes now, we should see something like the following:
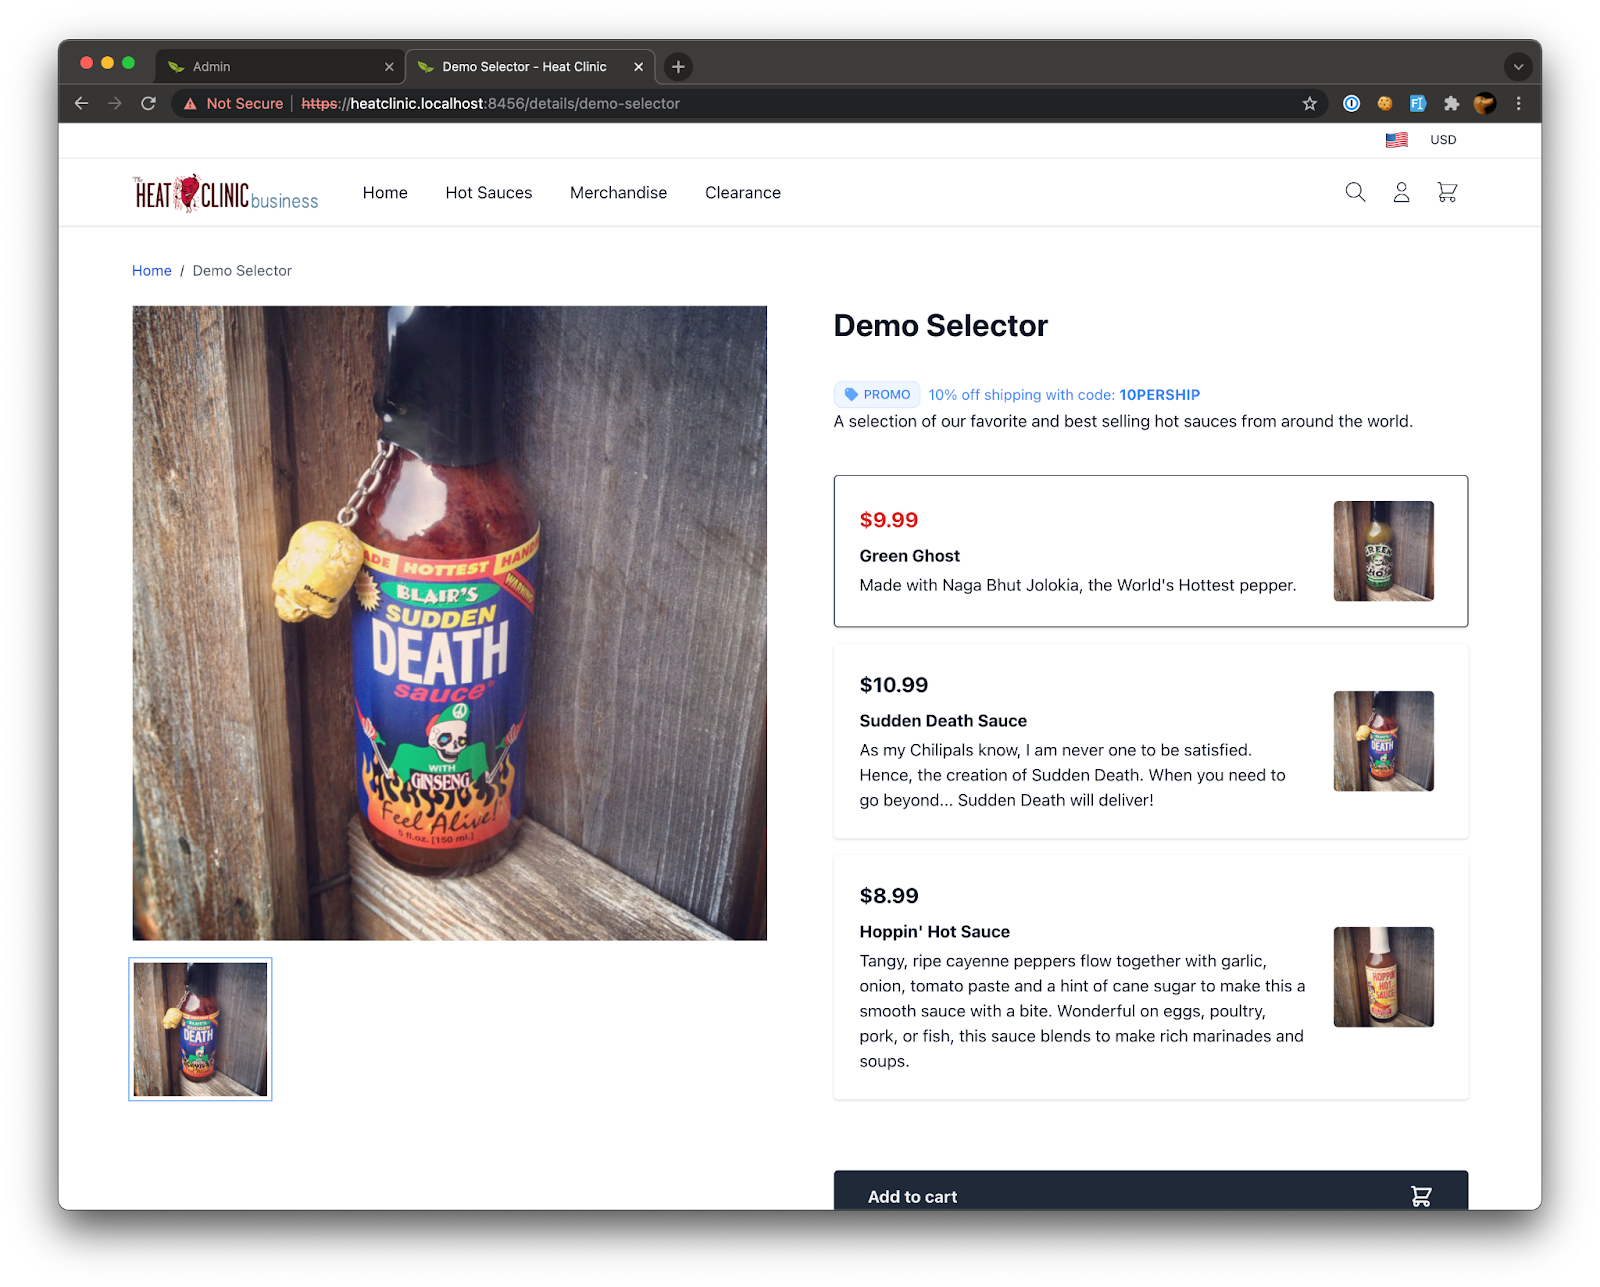
That’s all it takes! Selector products provide a convenient way to give your customers options when buying from your site.
Where to go from here
Just like last time, I recommend taking some time to explore some of the other options available to you on the product form and seeing what you can accomplish. You might also check out the prior post detailing how to set up sale pricing if you haven’t already and see if you can get the sale pricing to display on our new selector product’s choices.
